
Start Free Trial
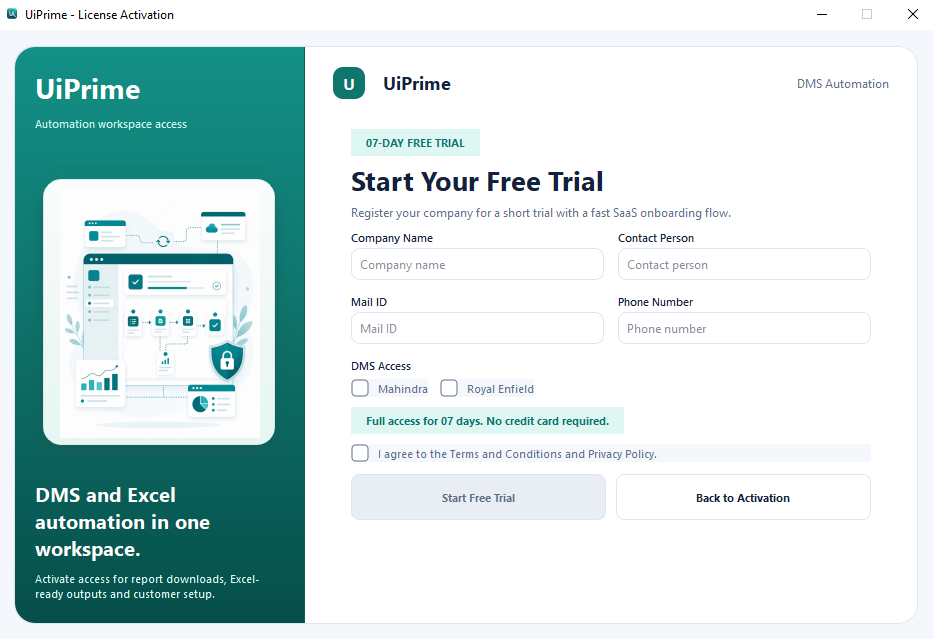
Register basic company details, choose Portal access, accept the terms, and generate trial access.
Follow the first-time setup path for license access, DMS configuration, folders, reports, automation, and output verification.
Open UiPrime from the desktop or from the folder where the EXE is saved.
Enter your license key or trial details and continue.
Open Quick Setup and select the DMS or source system you want to use.
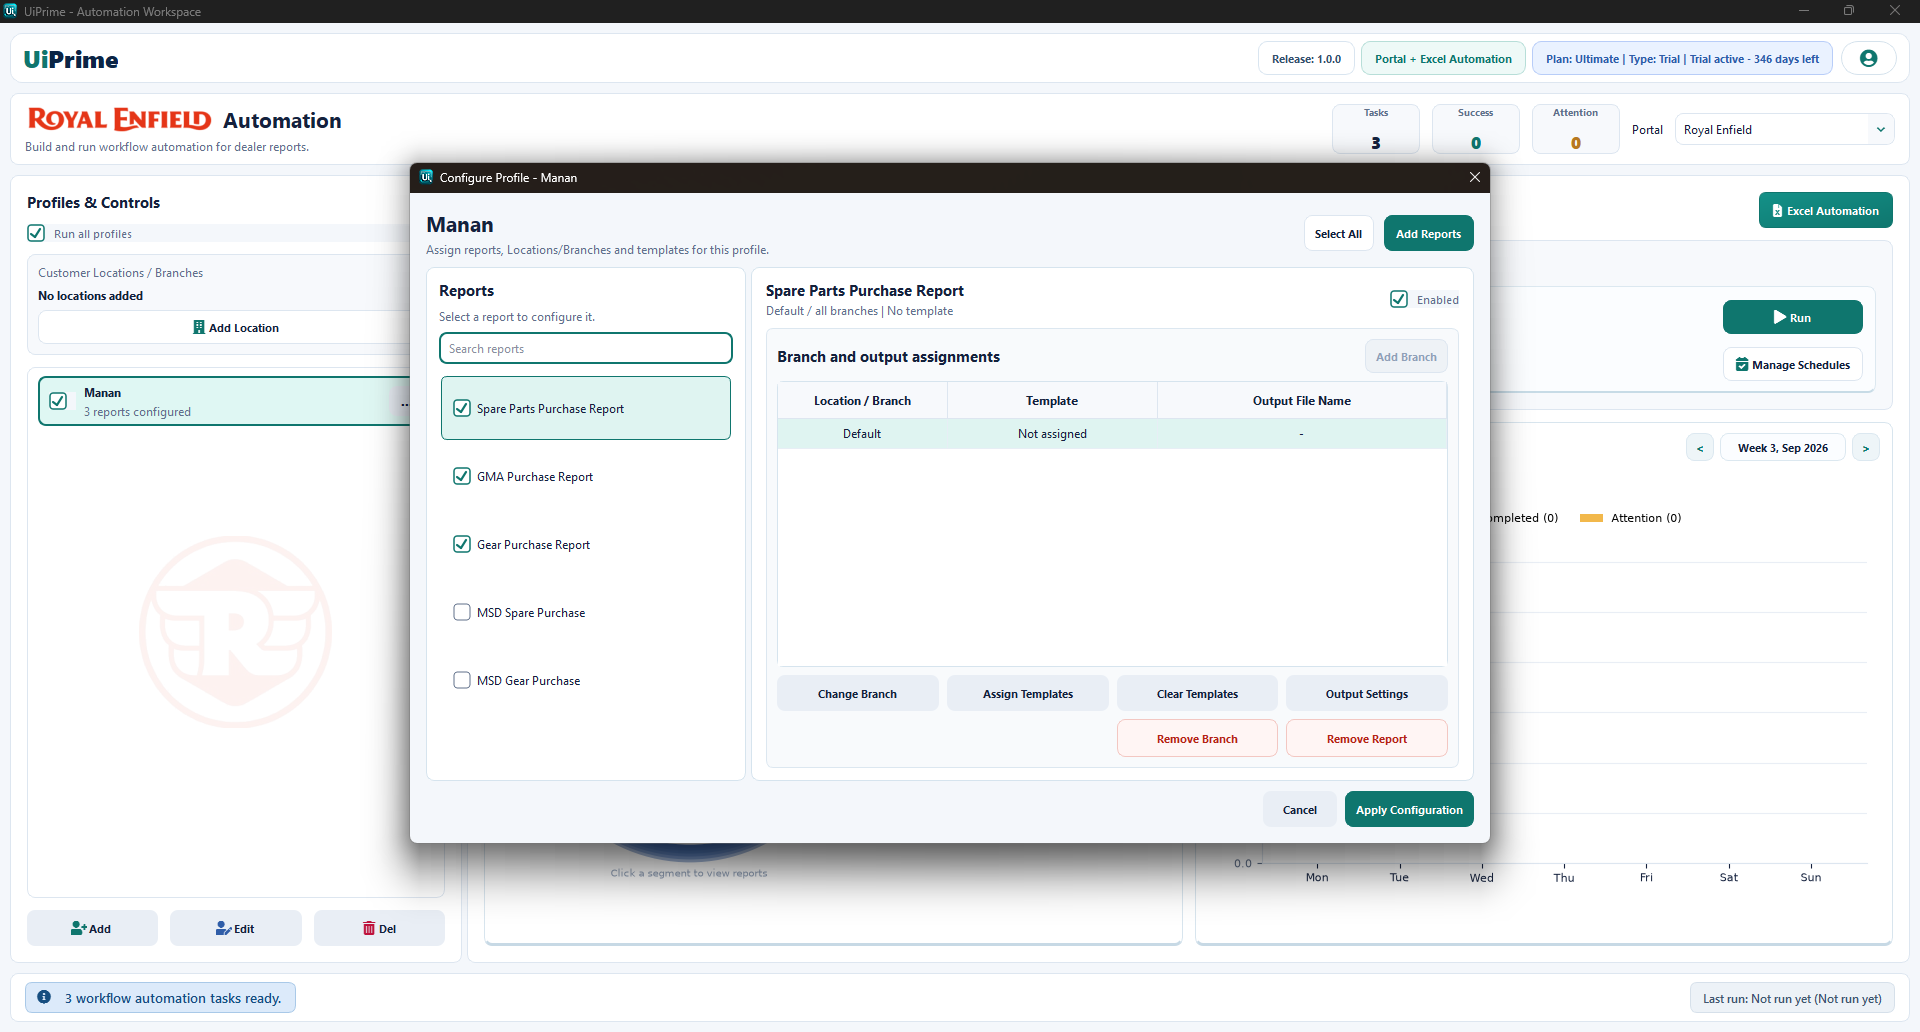
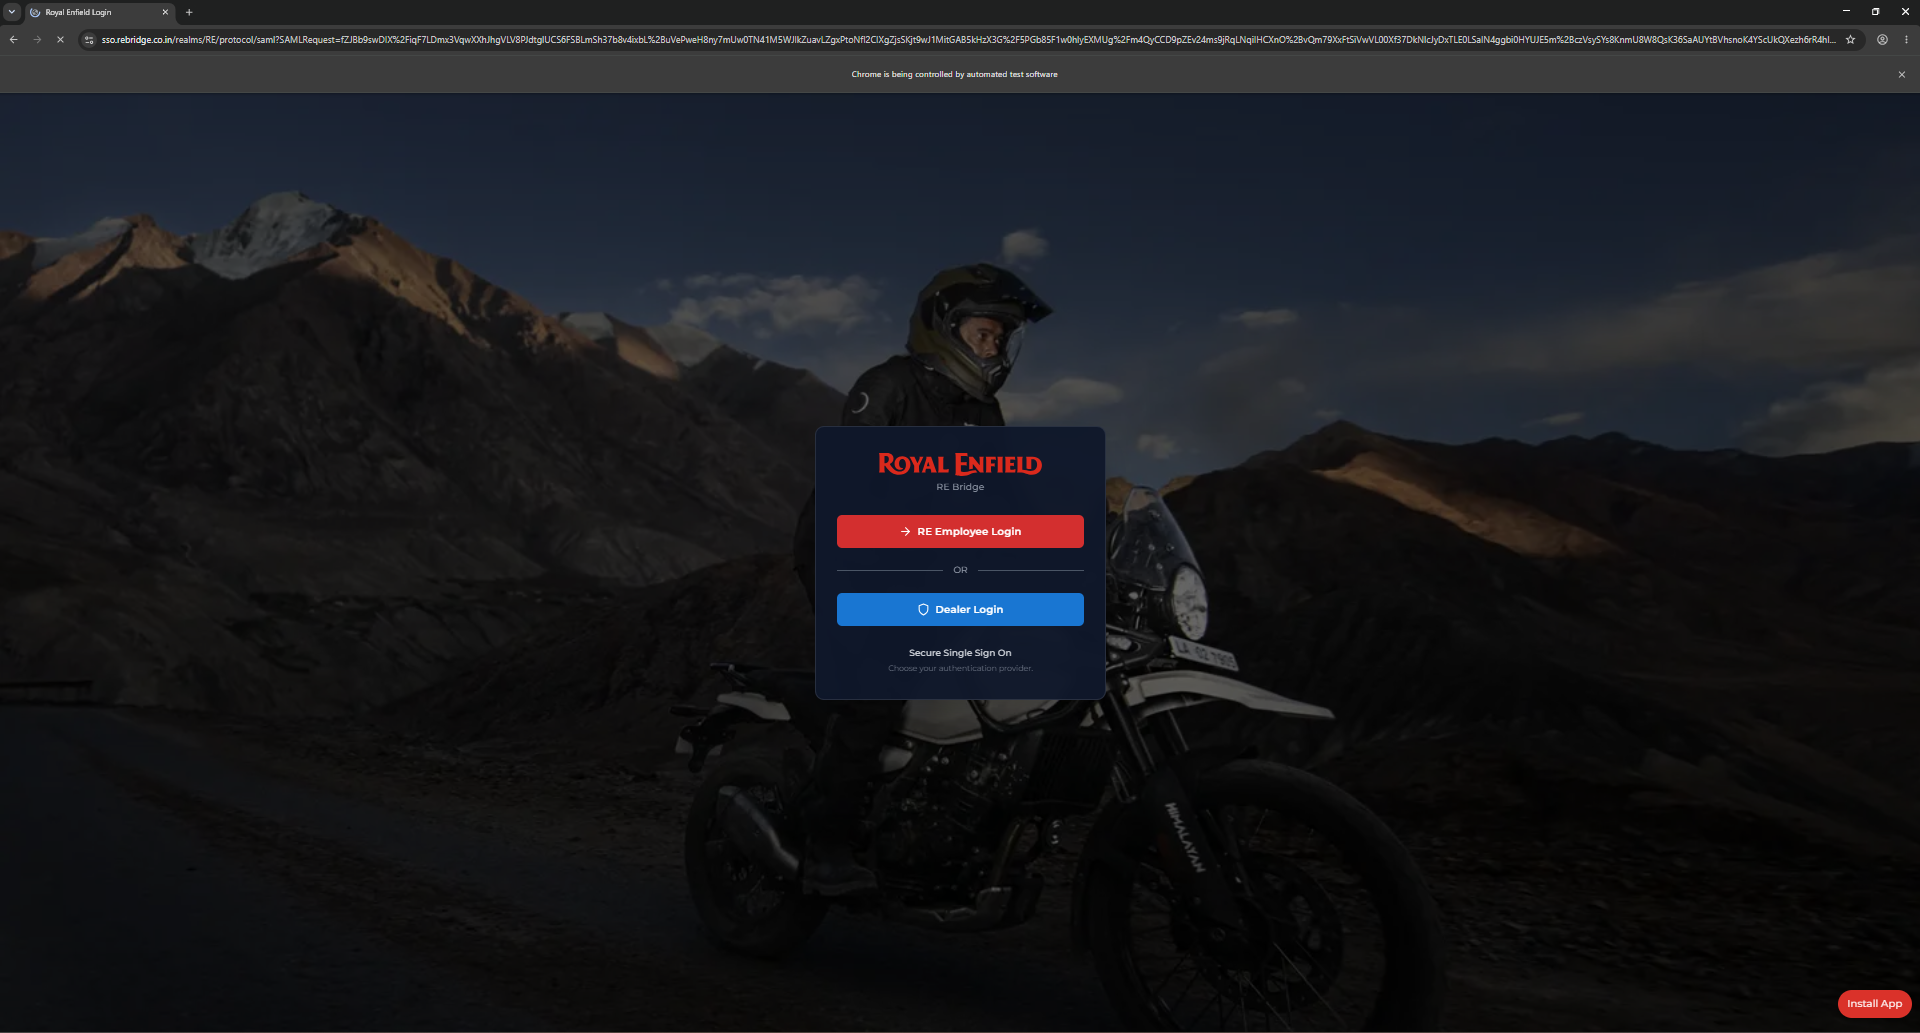
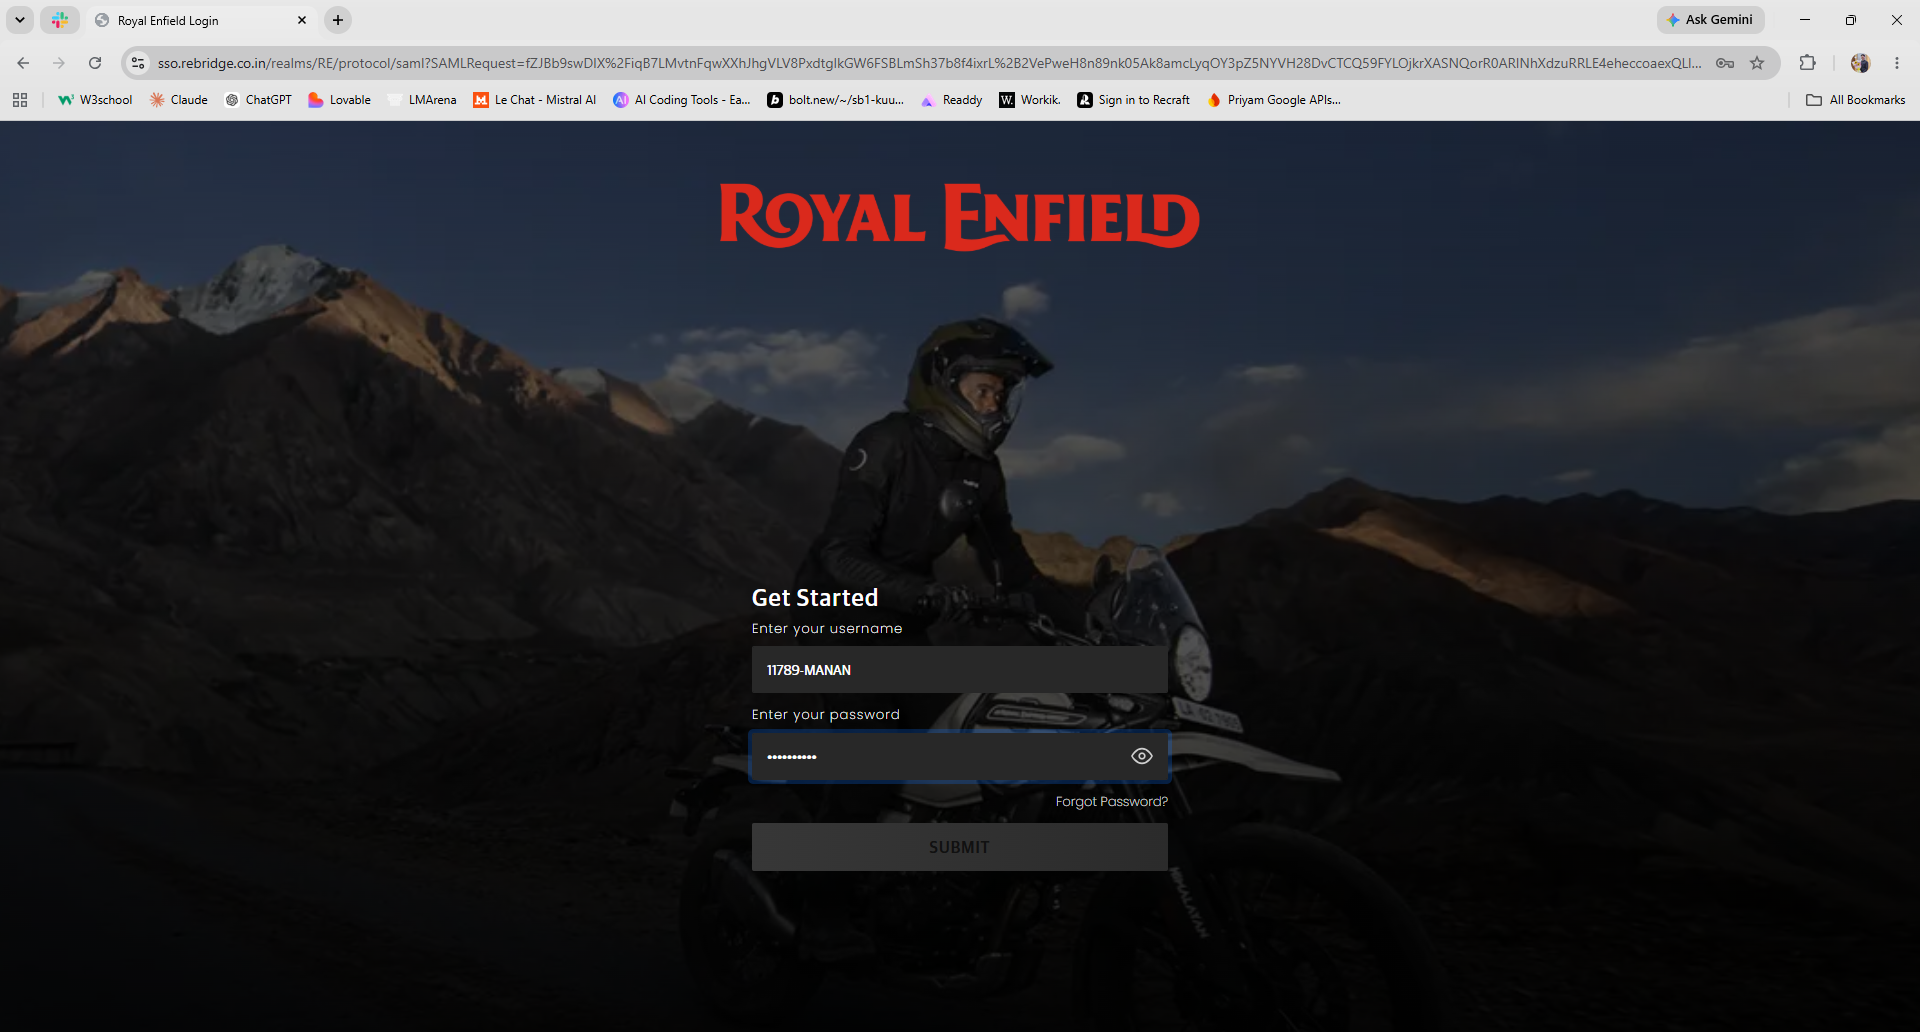
Add the login profile, report selection, location, or site details.
Select the download folder, output folder, and Excel template when required.
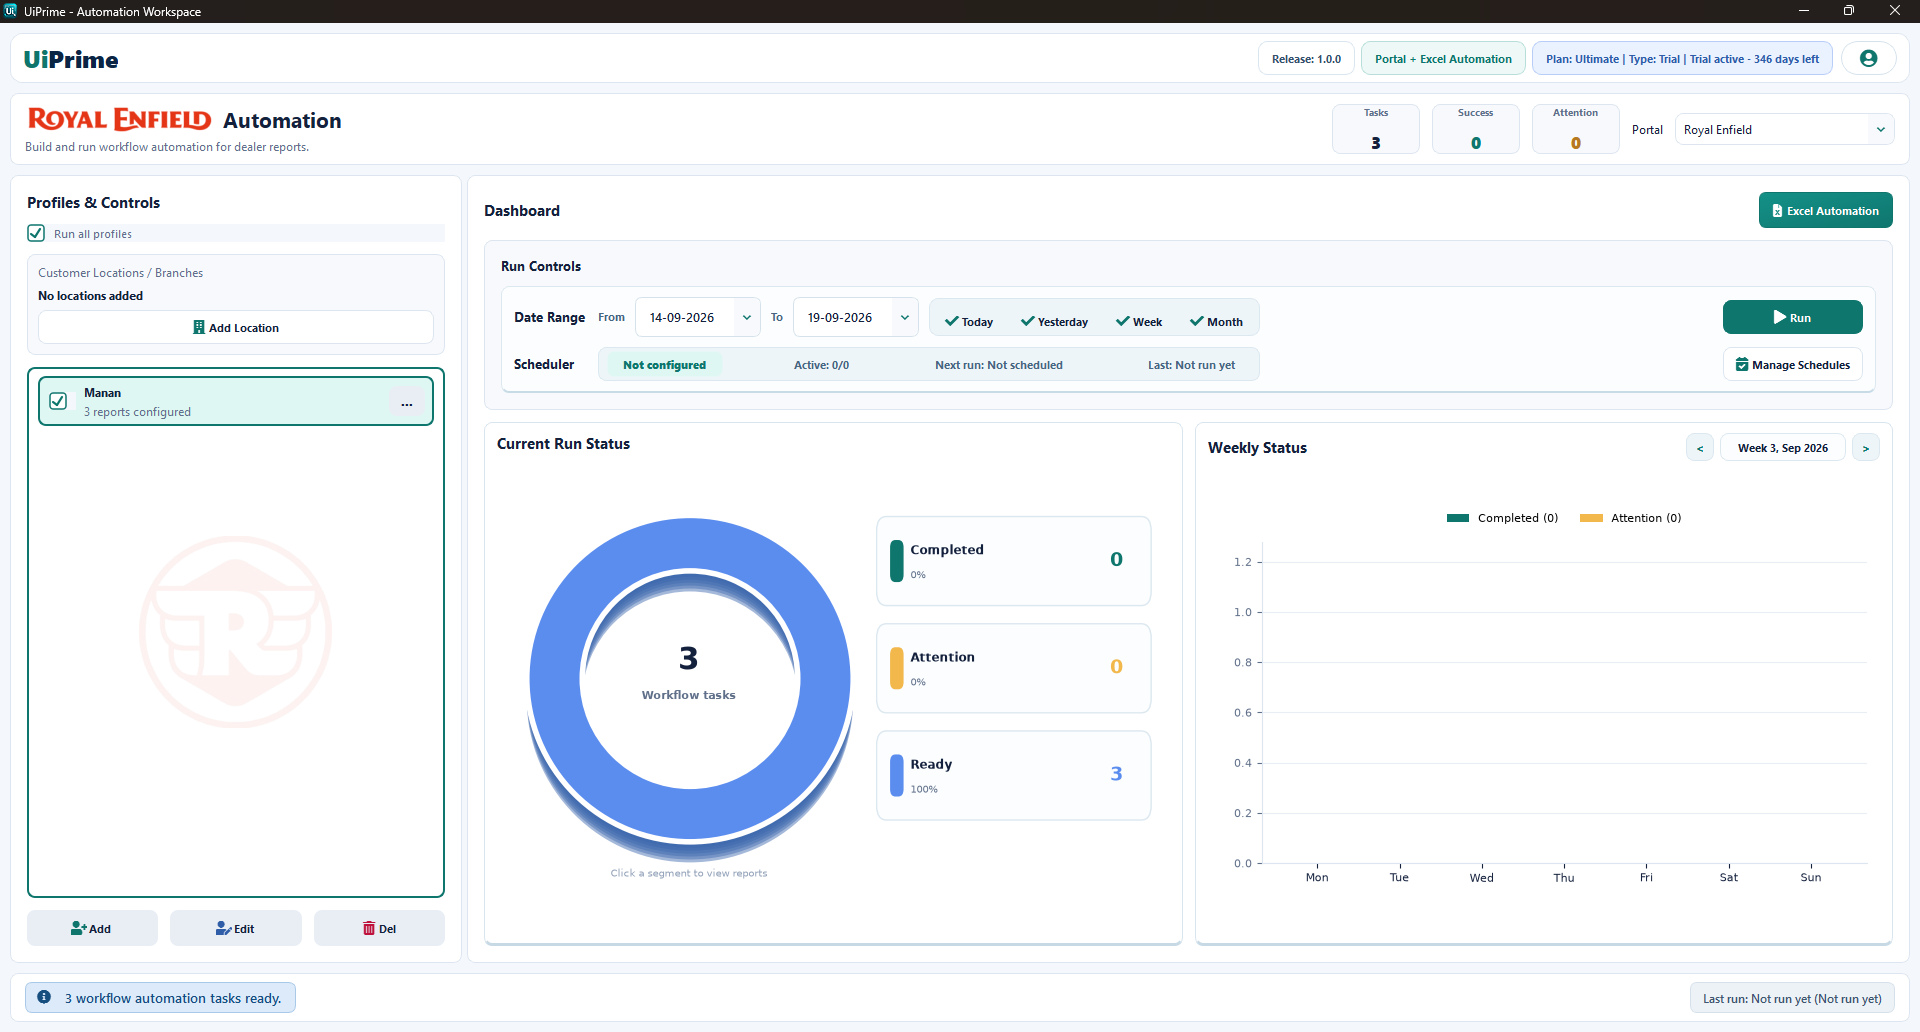
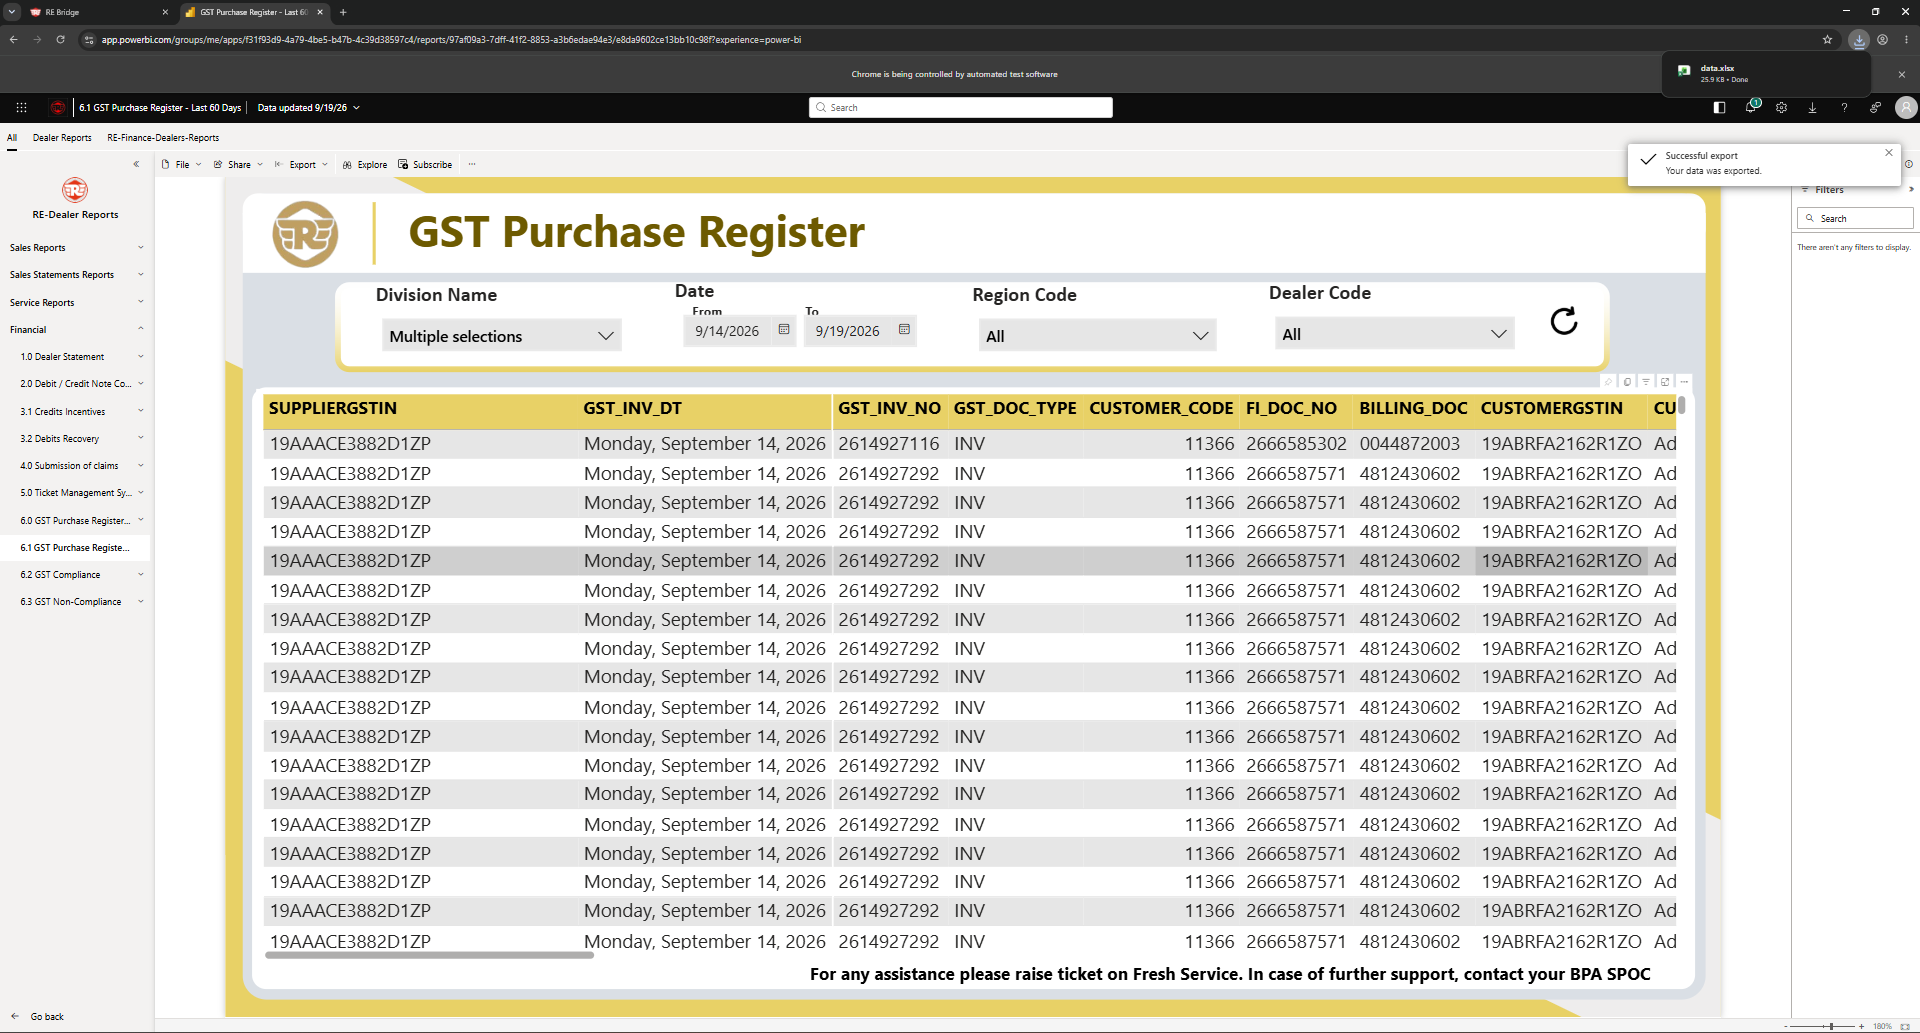
Save the setup, then run the automation from System Automation or Excel Automation.
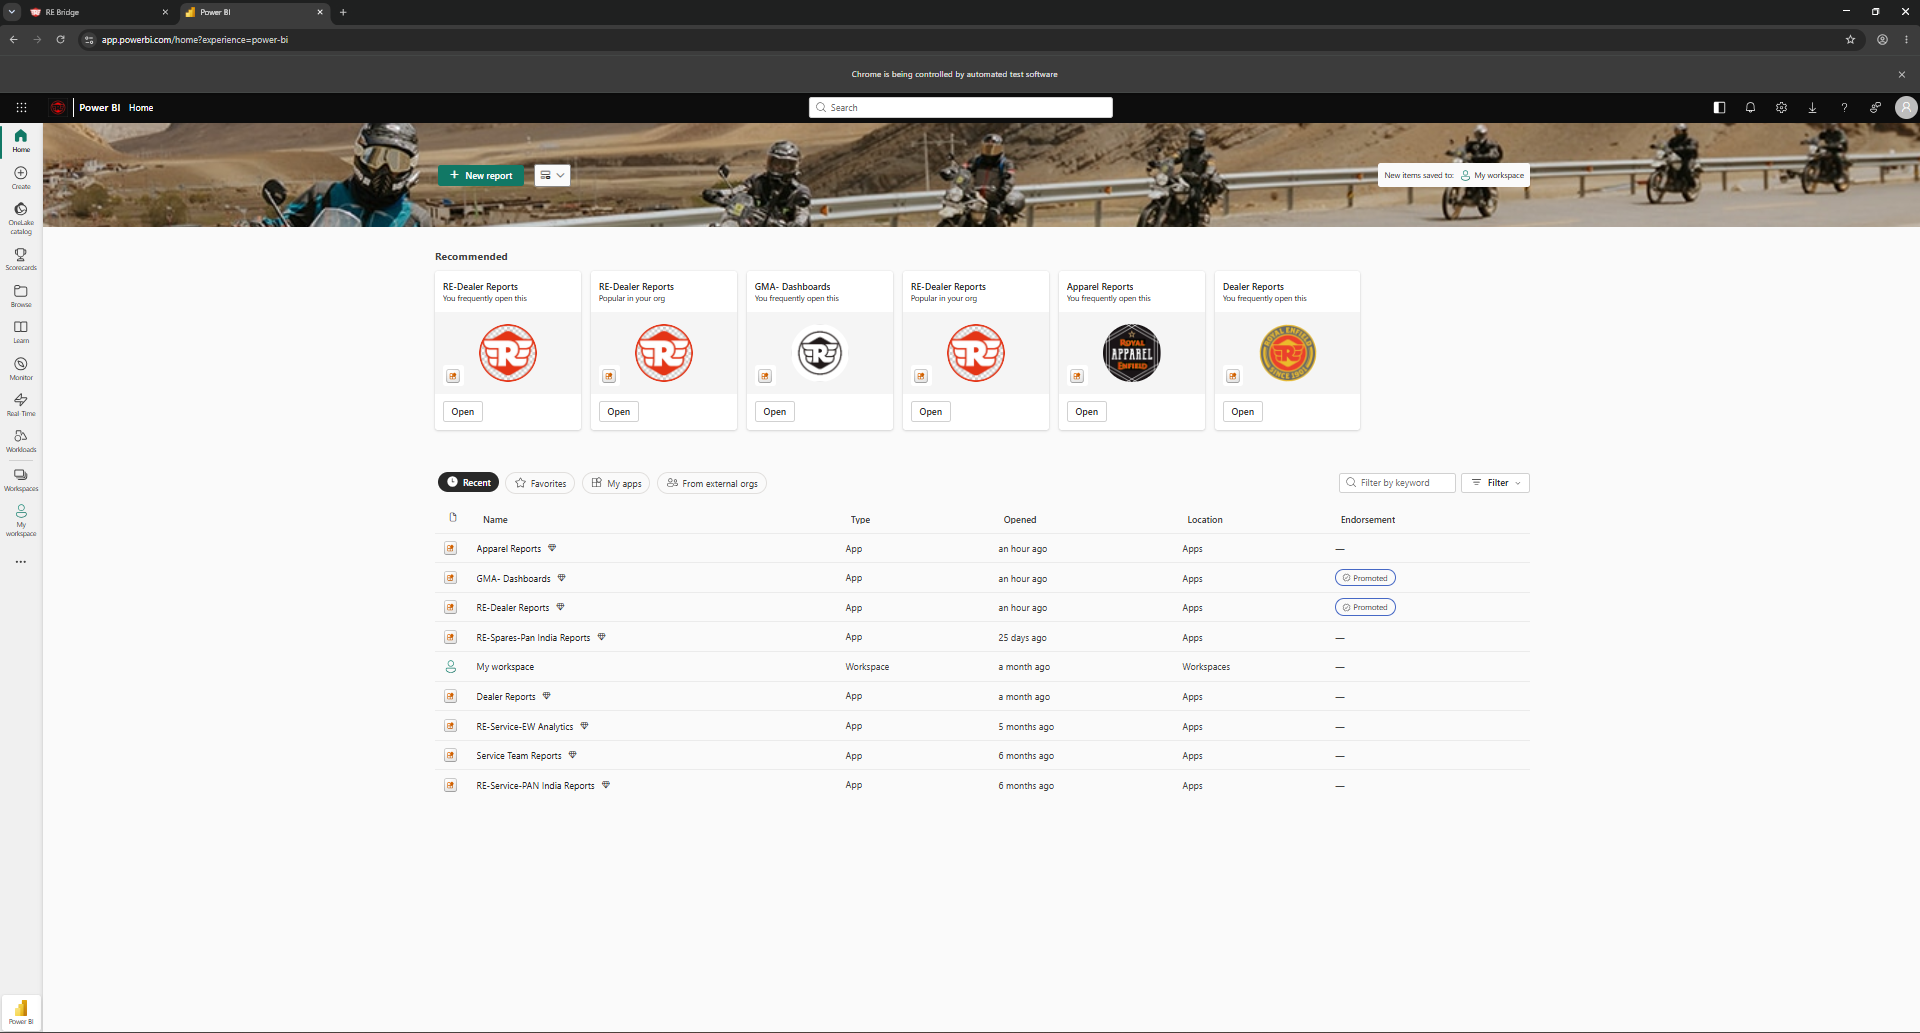
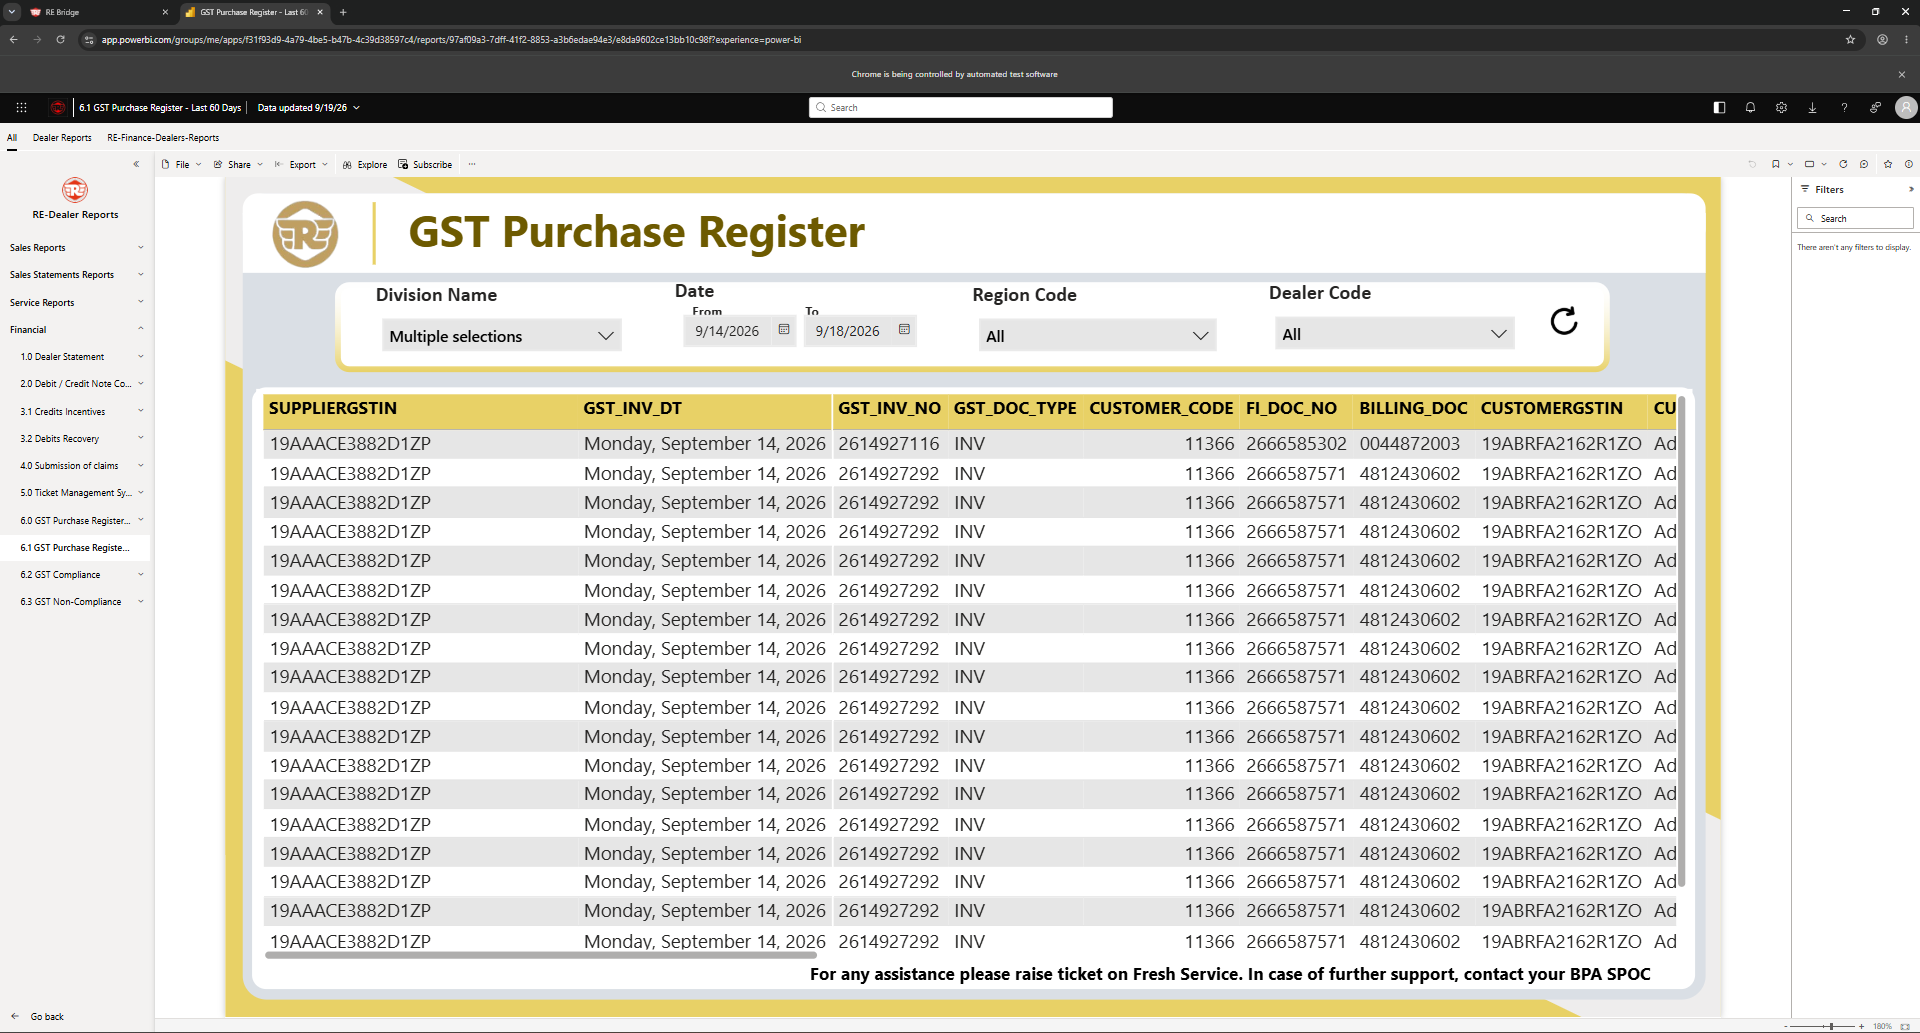
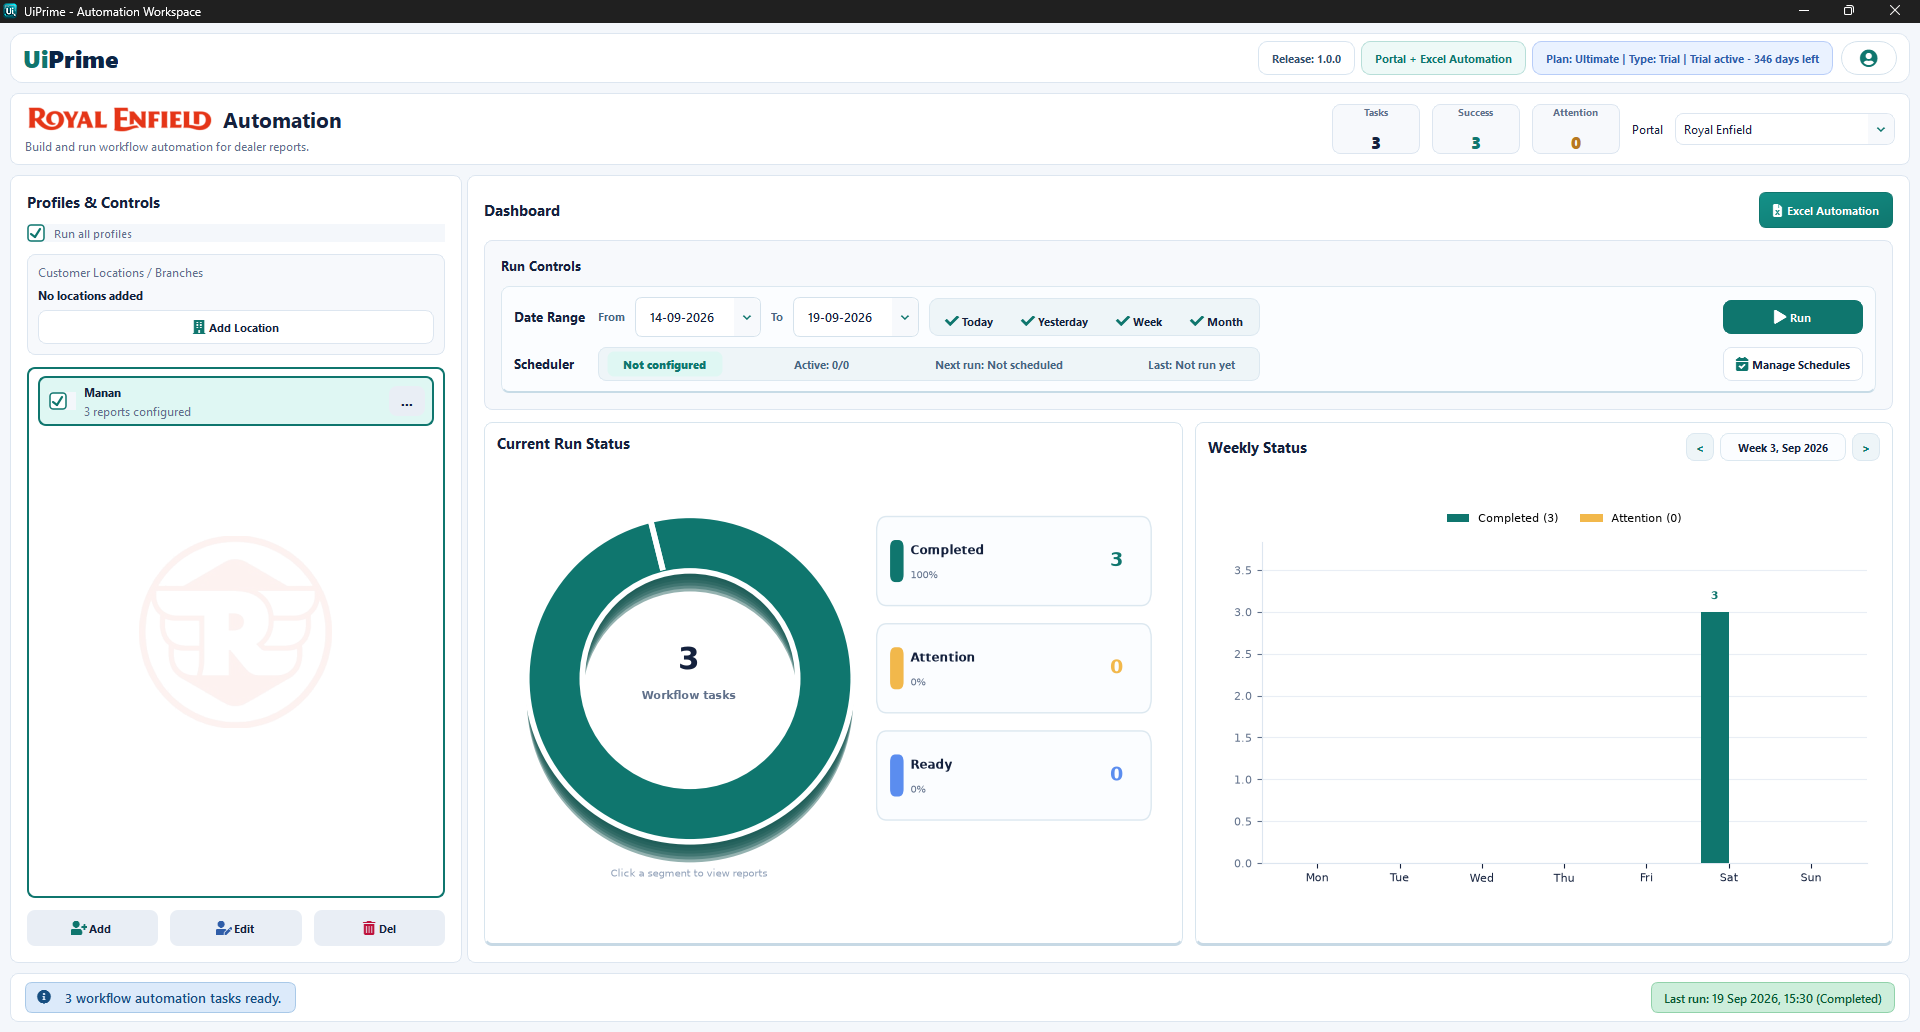
Use these screens to recognize the first access flow before moving into Quick Setup and automation.
Register basic company details, choose Portal access, accept the terms, and generate trial access.
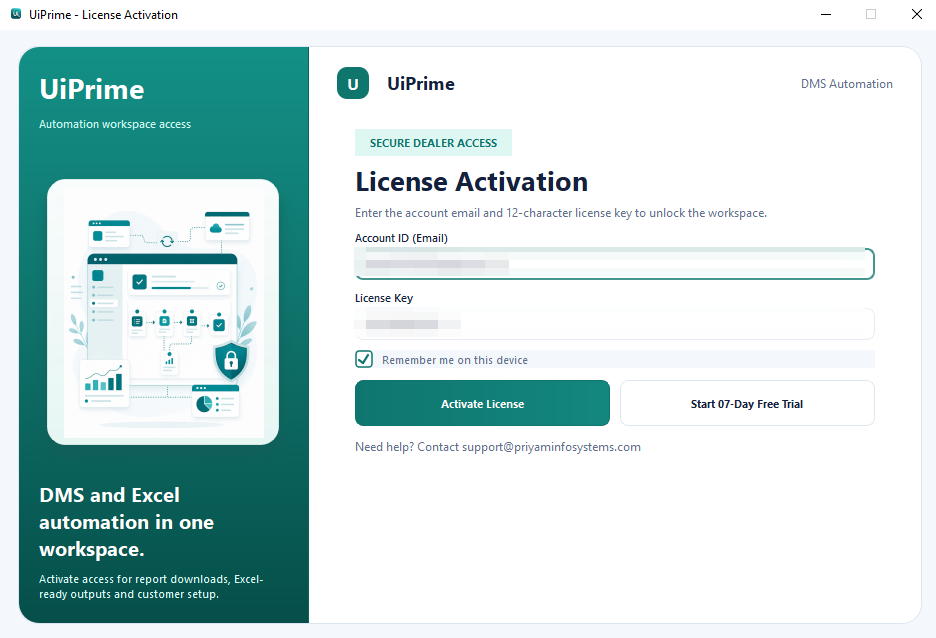
Enter the registered email and license key to unlock the workspace on the device.
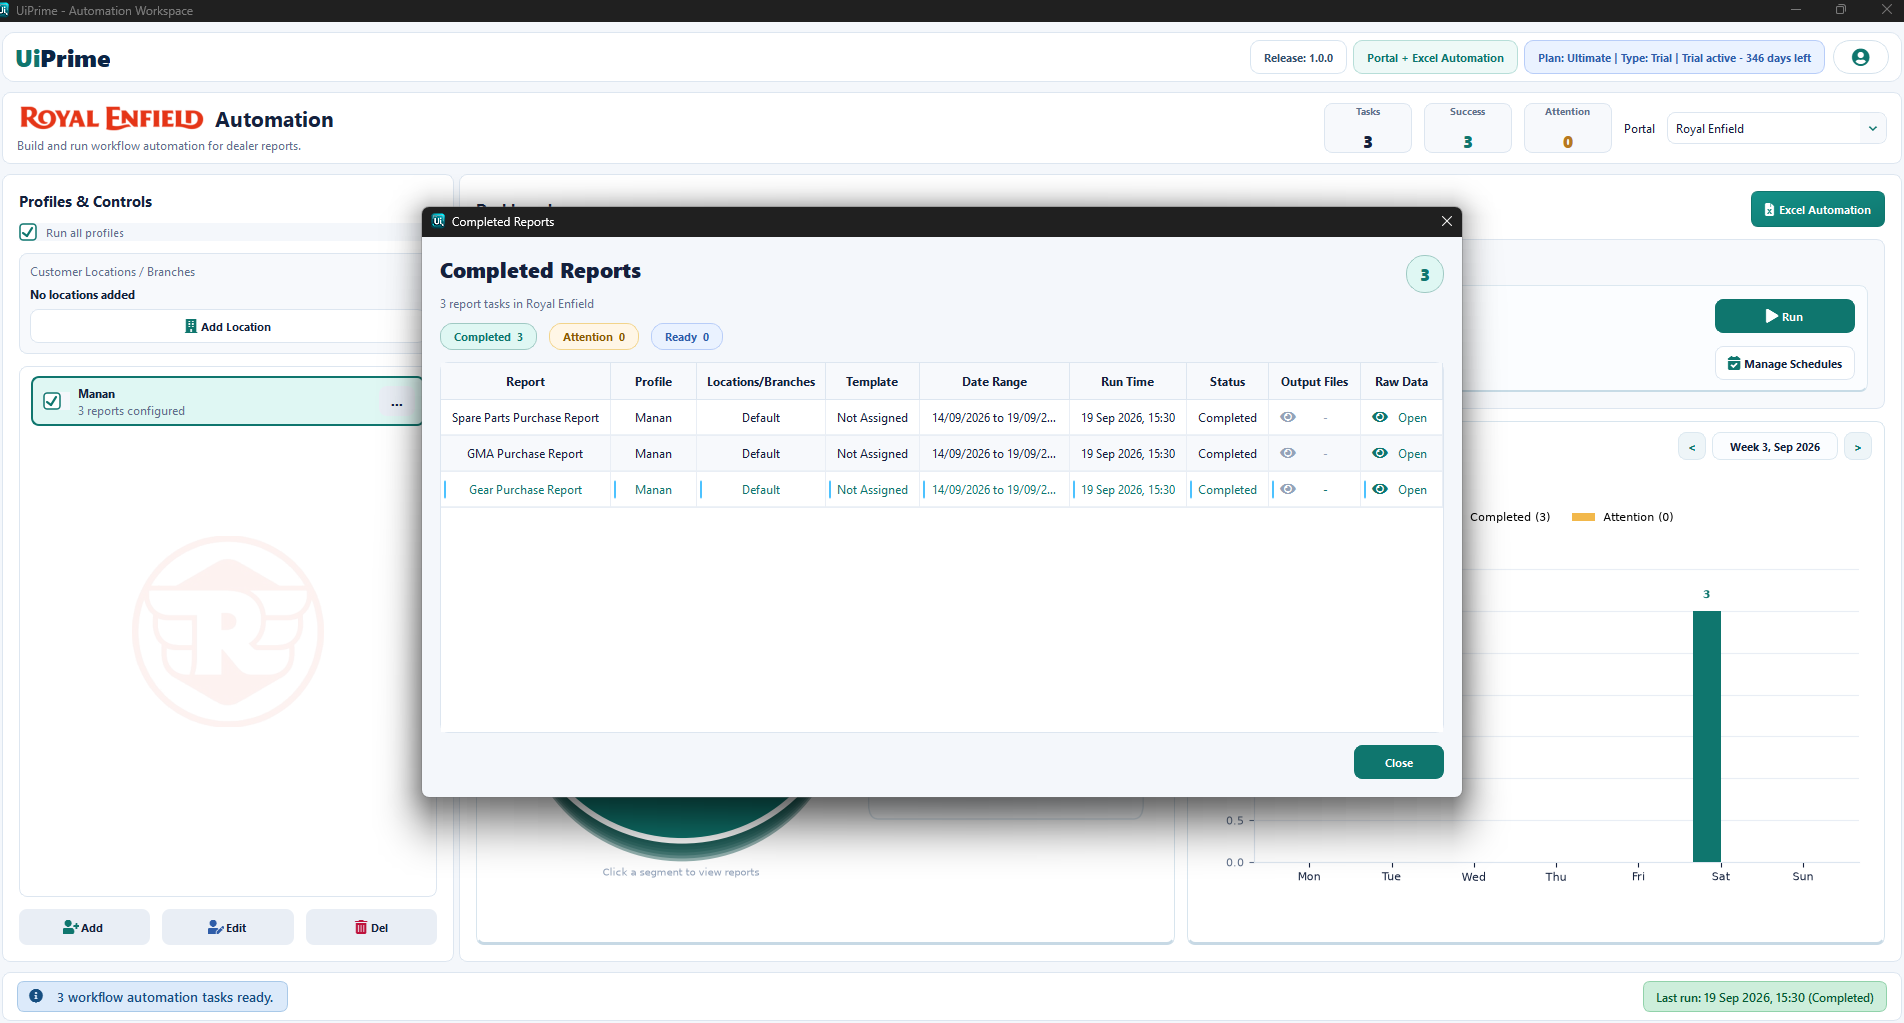
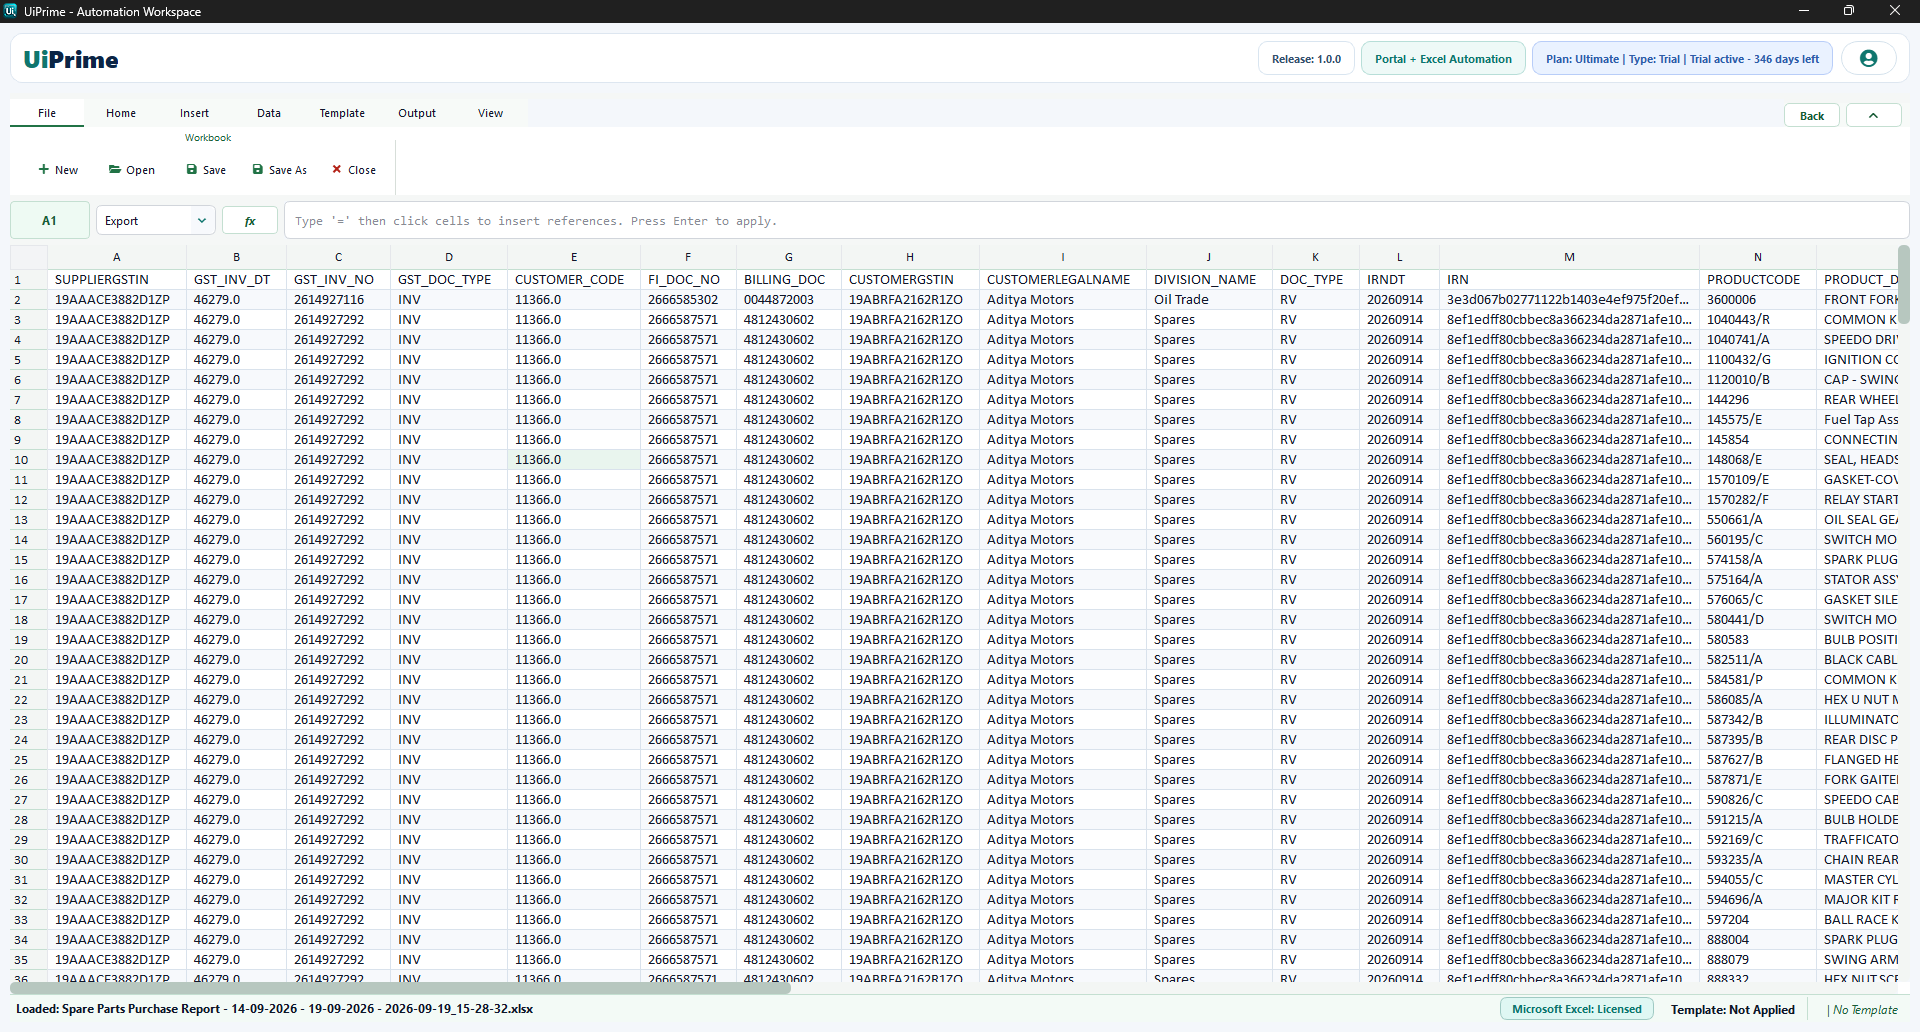
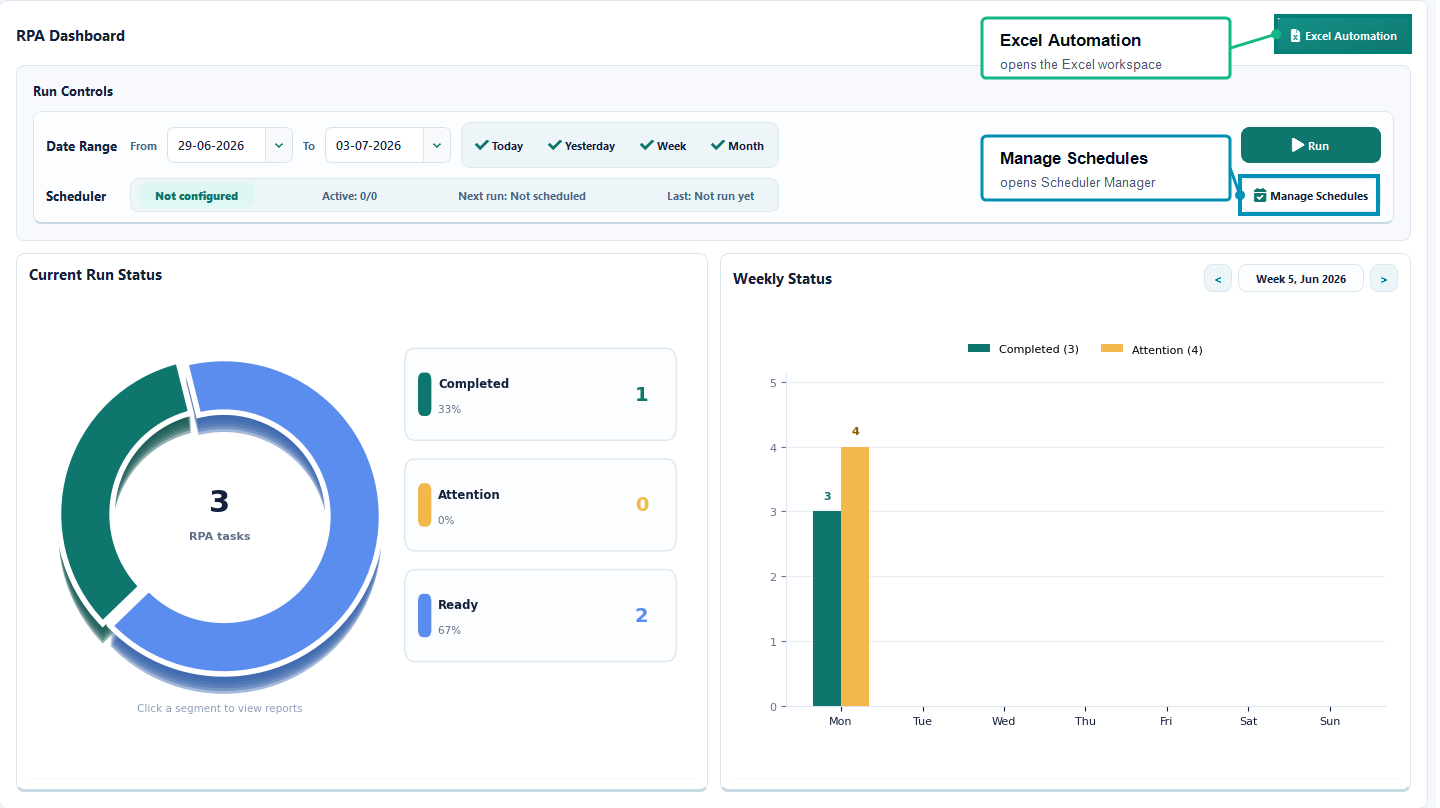
In the DMS dashboard, Excel Automation opens the spreadsheet workspace, while Manage Schedules opens saved schedule control.
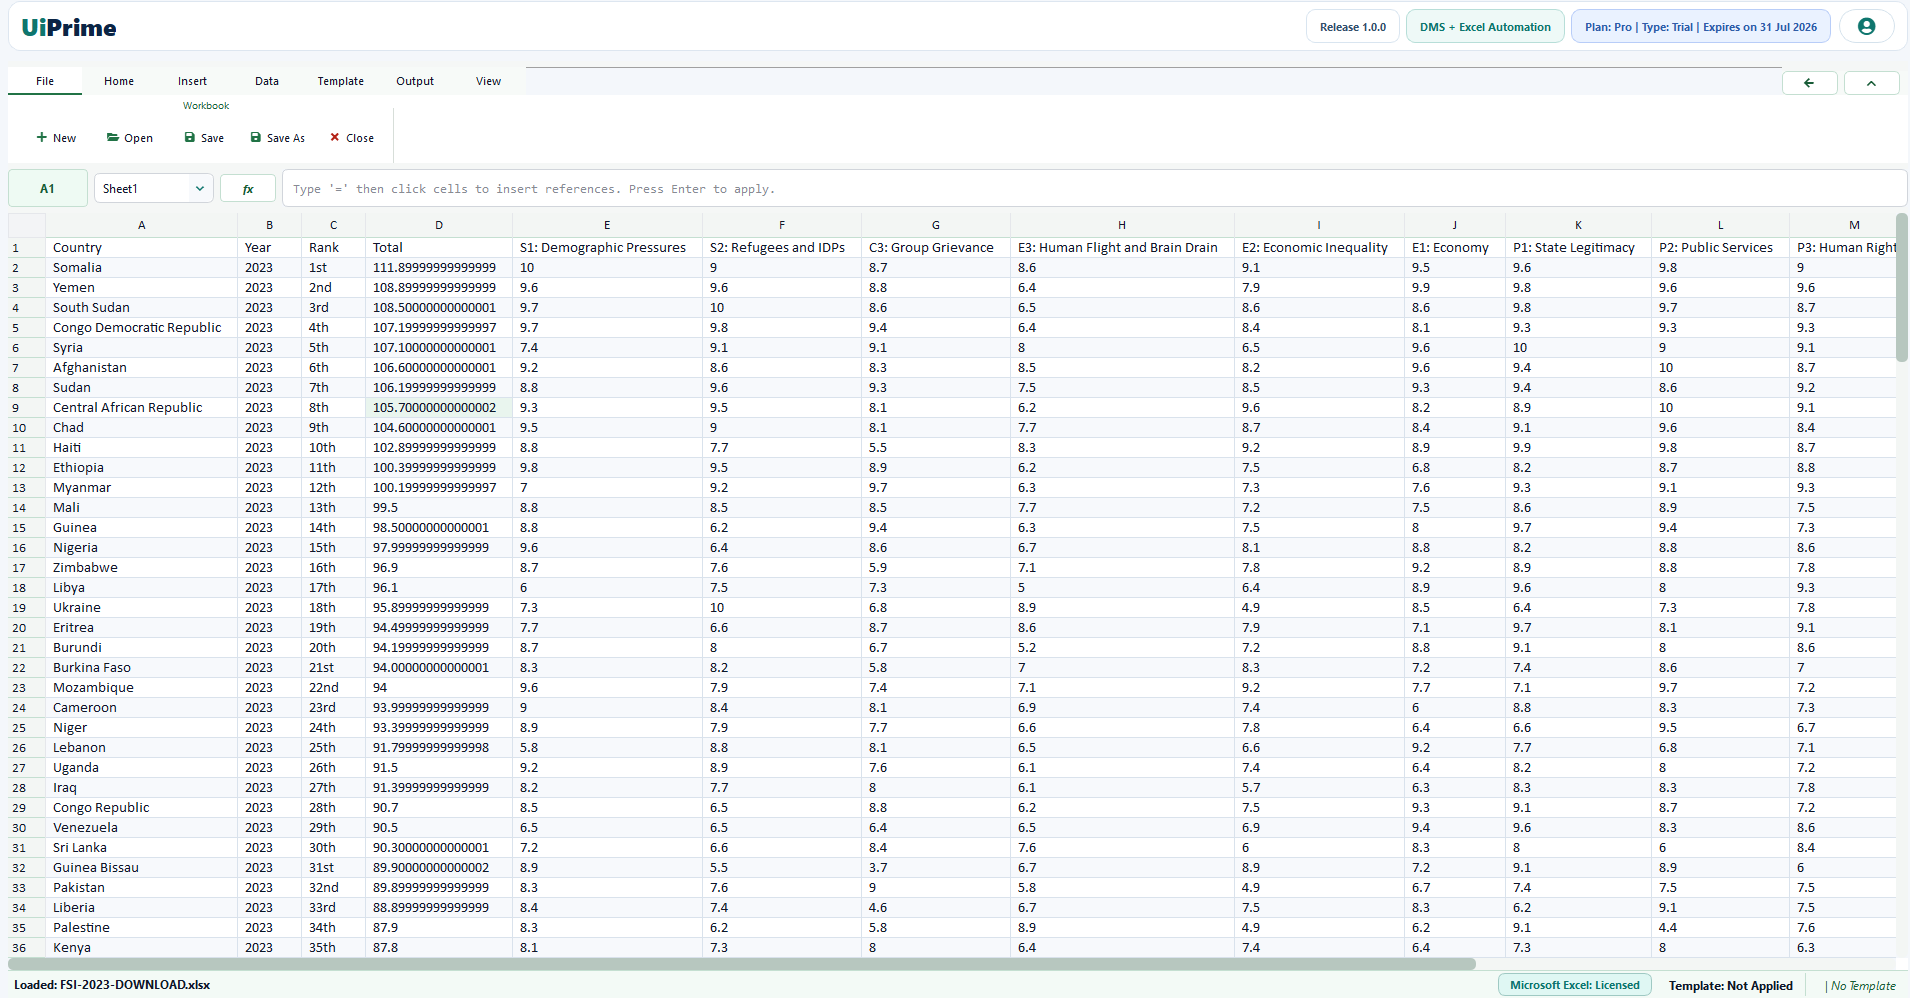
Use this workspace for workbook review, template handling, and Excel-ready output preparation.
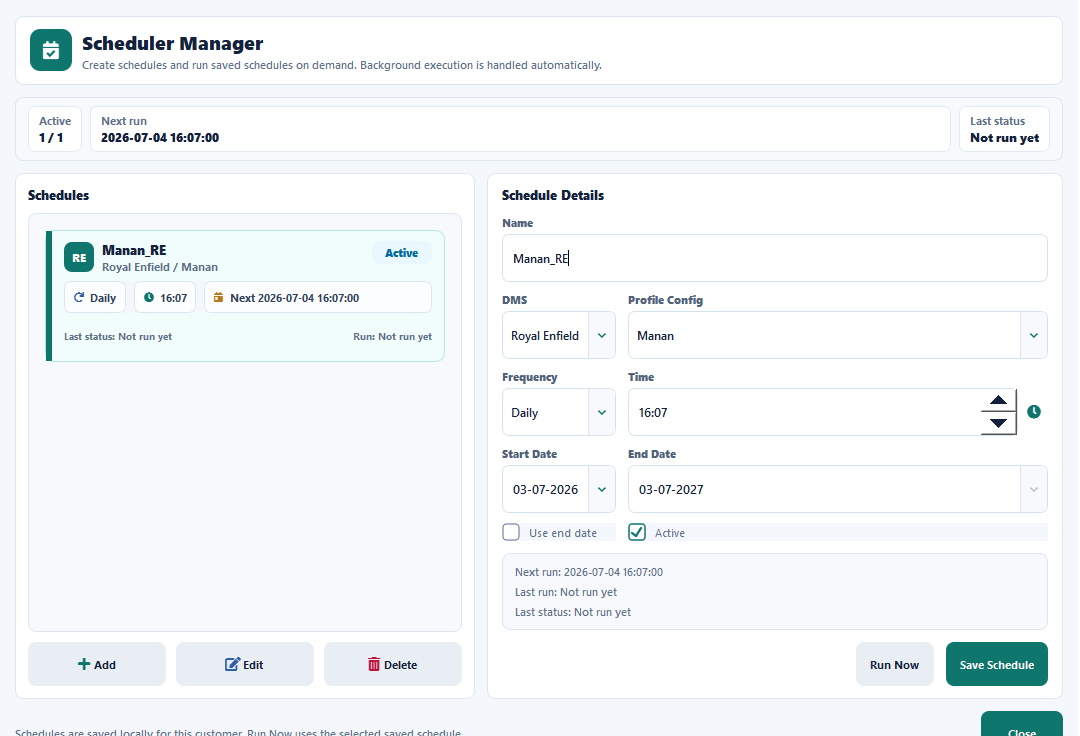
Create schedules, review next run timing, and run saved schedules when needed.
Use the arrow buttons or the ← → keys on your keyboard to move through each screen. Click a screenshot to enlarge it.
Step 1 of 10